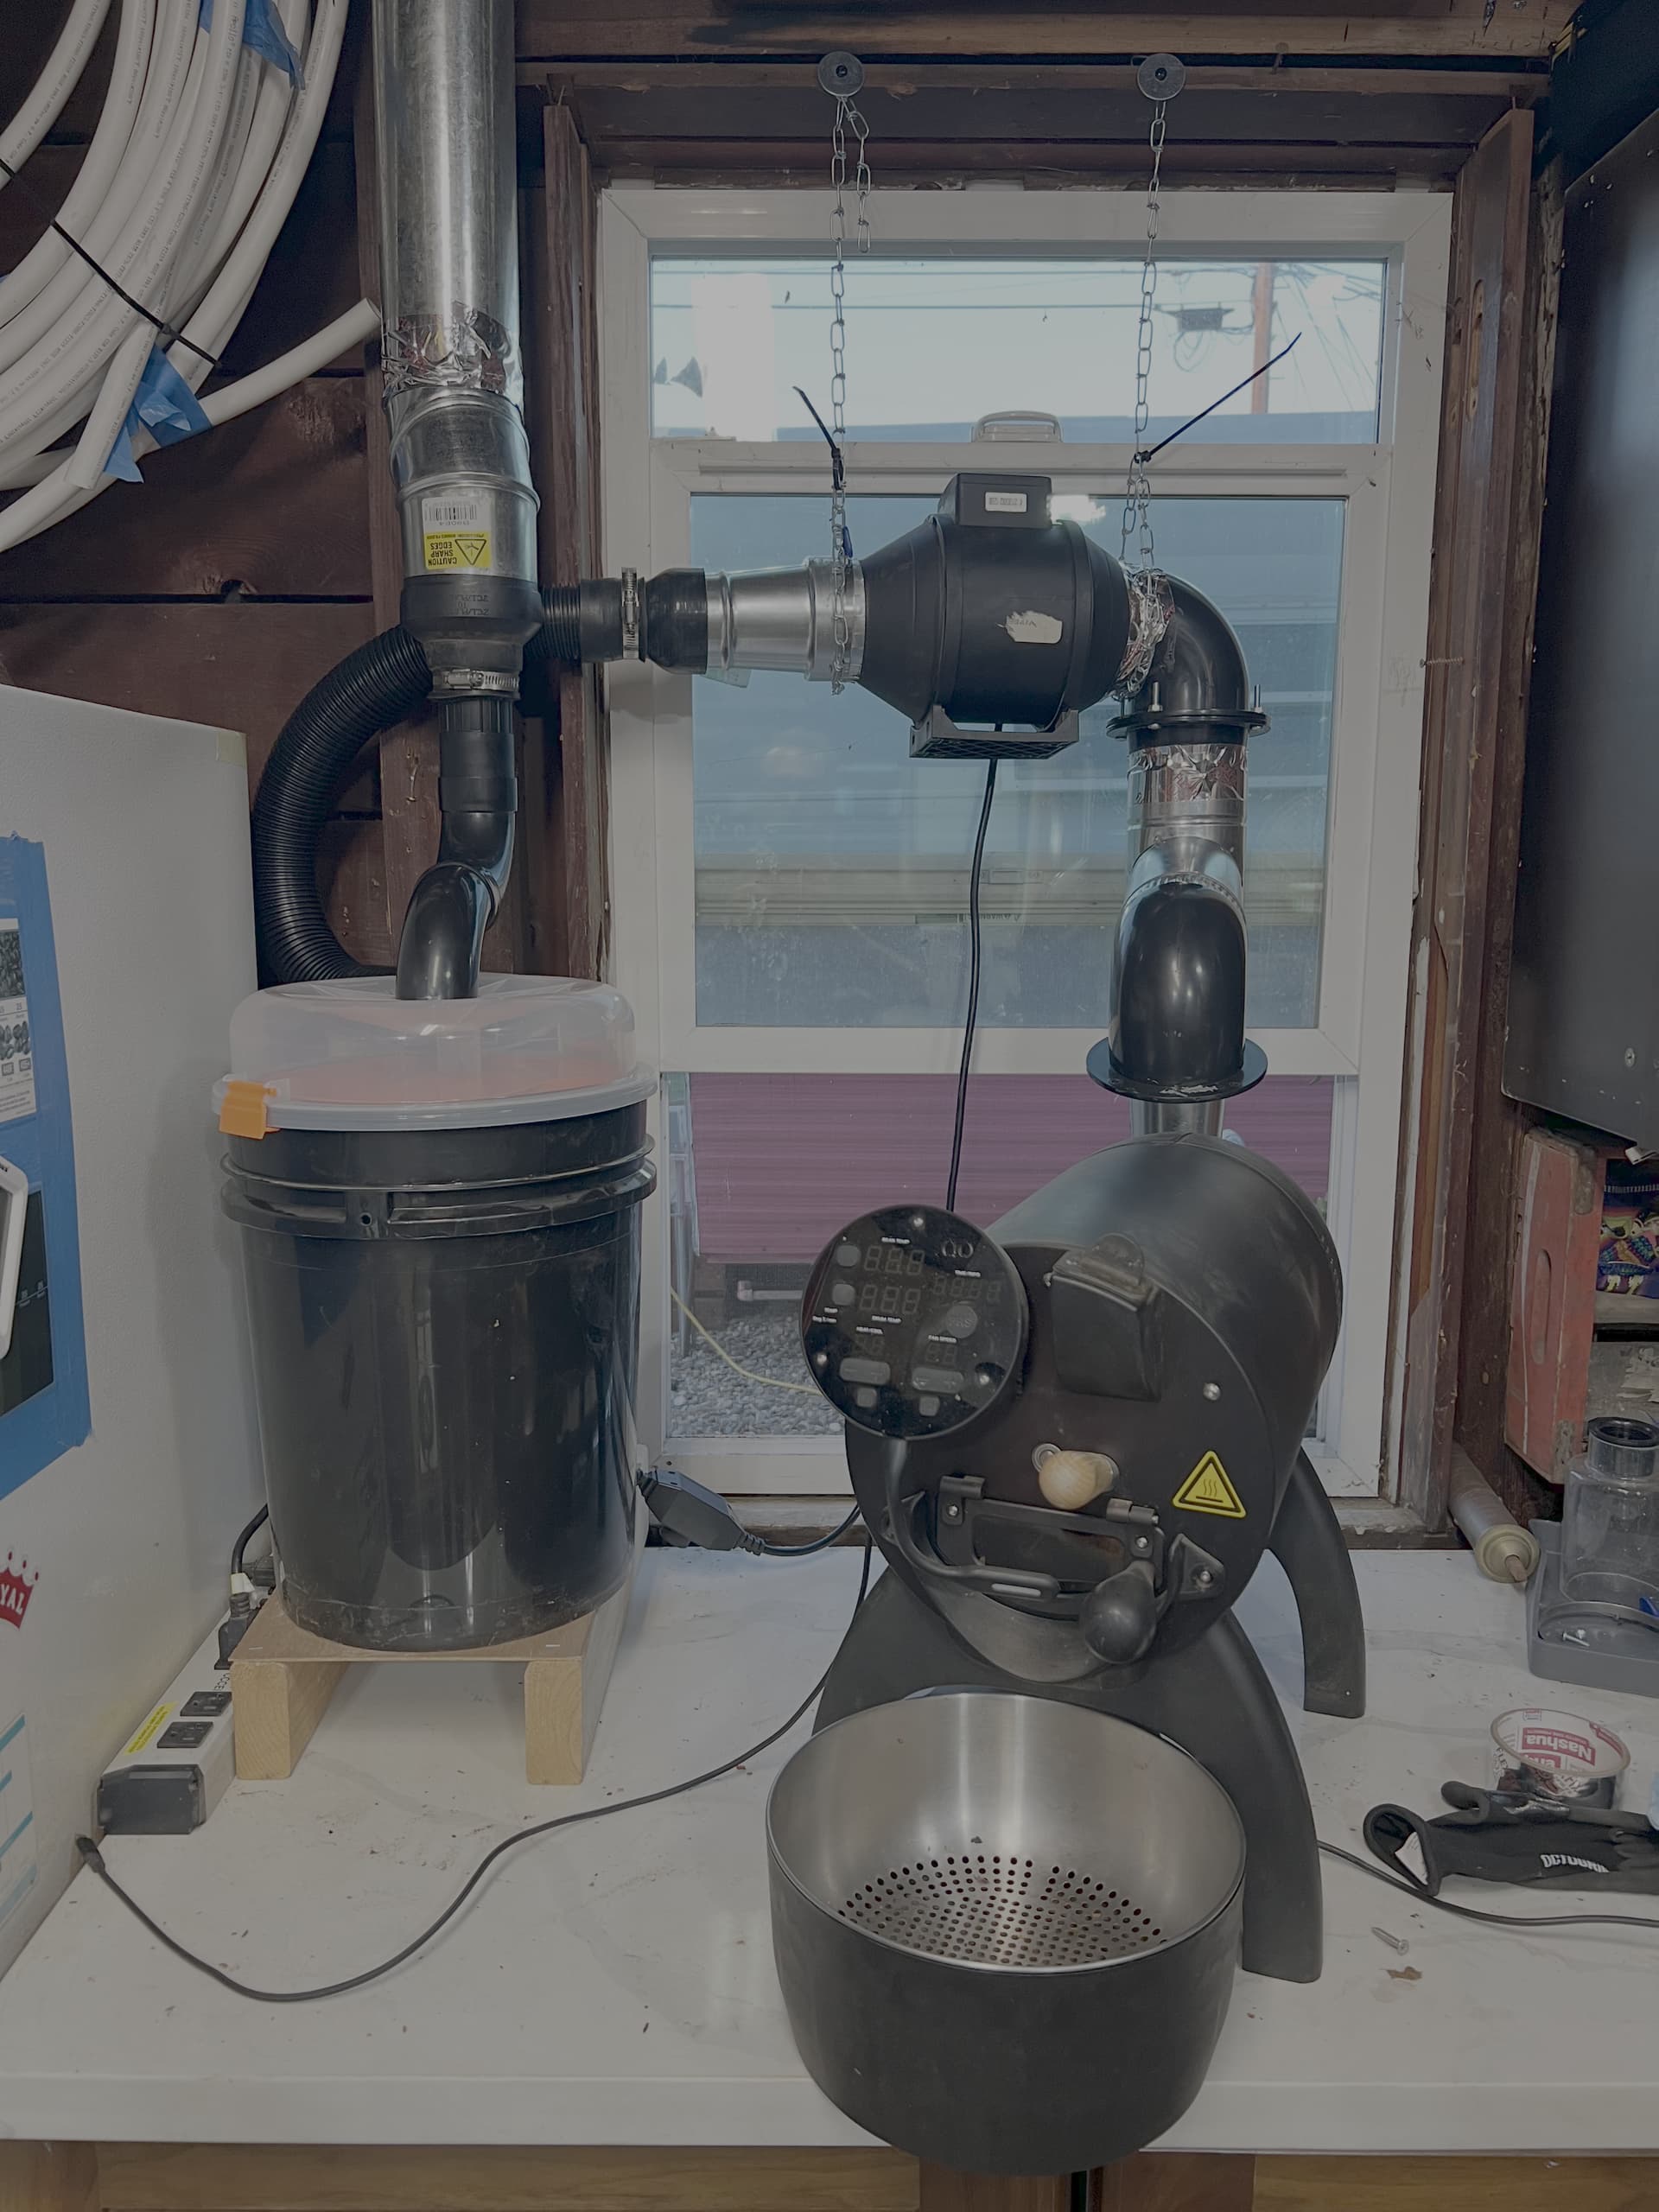
To remove every other blade, did you cut them off or did you manage to disassemble everything (I can’t do it myself, it feels like they are also glued…)
I used an exacto knife to get under the folded over ends of the blades on the outside of the squirrel cage and bent them up on both sides of the blades. They were not glued on the fan rails that I modified. Then I used a pair of needle nose pliers and carefully bent the blades inside the rails and they came right out without damage to the outside rails or the other blades.
I did not disassemble the fan.

2 Likes
Very impressive solution, thanks for sharing.
In B2B mode, do you move the piping away from the exhaust when you ramp up the shop vac to 100% or is this not needed? I’m just wondering if all that airflow makes pre-heat take longer between batches.
I don’t move the piping away. Because there is an air gap between the mini collection hood and the bullet exhaust, it doesn’t suck any of the hot air out of the Bullet.
I roasted 6 batches of 750grams of green beans today without stopping.
I roast 750g batches because I am using 1/2 gallon Mason jars with fermentation vacuum locking lids. If i weigh out 1 kilo of green beans, the 1/2 gallon jar can’t hold all of the beans after roasting because they have expanded too much.
These lids have a vacuum lock on them and come with a small hand pump.

I typically use recipes for my roasting. With this new setup, my preheat between batches is typically only about 5 minutes. And since I don’t have to stop and empty the chaff, I can roast more batches in less time.
2 Likes
Neighbors don’t care. My backyard is crying for some better management 
I concede. Any chance you could share the .stl files for those tees and elbows you fabricated? I’m going to have to rework my setup
I would gladly share those files with you but they are very disorganized. I had a lot of problems getting the fits just right with the fittings.
I used PLA filament for printing. It has a very low melting point and trying to get the fittings to print without collapsing was difficult.
I tried using ABS filament, but it is much more difficult to print.
I had a large box of unusable fittings.
I ended up sanding most of the fitting IDs and then using heat resistant silicone caulk to hold things together.
I originally used clear PVC pipe. I thought it would be cool to see the chaff moving through the system. Unfortunately, the PVC pipe couldn’t handle the heat and collapsed under the vacuum in the pipes.

I changed to Chrome plated 2.5 diameter OD steel pipe. I got it from Amazon.

I think that a more forgiving solution for the fittings would be to find hard rubber fittings and use them.

The Y fitting was the most difficult to print. Printing that fitting took six hours. (and it still had to be sanded to fit) I printed a few of those trying to get it just right. ( A few times 6 hours each)

The CAD/CAM side of building these fittings on the computer wasn’t too difficult for me.
My Day job is developing manufacturing processes for aerospace components.

1 Like
A little update on my side, I tried to hook up a small (very cheap) shop vac to my system (very similar to @billc ) but it’s way way too loud for me, even using the speed controller, it’s either too slow doesn’t suck anything or so loud I can’t tolerate it for a full roasting session… (can it be related to the use of 220v in europe ?)
I will try to print some 3D parts to adapt it to the inline vent I have as it is quieter.
Would you mind sharing the stl file for the baffle inside the chaff collector ? 
Sorry to hear that the vacuum didn’t work out.
I typically run the vacuum at about half voltage which is not too loud. I can see the chaff leaving the bullet and getting sucked up into the little vacuum hood.
Then when I start cooling the beans after dropping them, I turn the vacuum up to full speed for about 4-5 minutes until the beans are cool.
The Vacuum is loud during cooling.
The reason that I chose to use the 2.5 inch OD pipe, is because that is what the fittings of the Cyclone filter were.
Here is the STL for the baffle
Aillio Bullet Chaff collector partition.stl (86.6 KB)

3 Likes
Great idea with the jars. Do you just buy the lids? Will they fit a standard mason jar? Where did you get that setup with the pump?
I buy these lids from Amazon. They come with the hand pump. They fit all large mouth Mason jars. After pumping the jars to pull a vacuum, the jars will maintain that vacuum for several weeks. (freshly roasted beans will outgas carbon monoxide and the vacuum will be lost, but that is okay because the excess carbon monoxide will be allowed to escape and no oxygen will enter the jars and degrade the quality of the roasted beans)

My local Walmart in southern California has 64 oz (1/2 gallon) mason jars available for ~$17.00 US.

This is similar to the wine-vac system that is sold.
Edit: These lids work with any of the Mason Wide mouth jars: pint, quart, half gallon…
I typically have several jars with different roasted beans in them and can have a different coffee variety every time I brew.
3 Likes
That’s awesome because I always have a cupboard full of different beans in mason jars. I was about to buy some of the metal Airscape cans that we sell now in our shop but they are pricey even with my discount. Gonna order some today!
Thanks
Another thing that I find interesting is when I am pulling a vacuum with the hand pump, I get a good strong dose of the aroma of the roasted beans.
While I am thinking about it, I told a friend about the fermentation lids and he loved the idea and bought a bunch. He was telling me how much he liked them but complained that they were hard to open after pulling a vacuum. I watched him open a jar and found that he was just trying to unscrew the lid, I showed him that all he needed to do was push over the little silicone vacuum lock with a finger tip until he can hear the air rushing in and then the jar will open easily.

2 Likes
Ahh nice that is good to know. I have the set of 6 and the pump coming from Amazon today. Thanks for the info and the tip on these!
Hi @billc,
Thank you so much for sharing your amazing build. I am new to this community, and just amazed how active, helpful, and innovative this community is.
While I am waiting for my Bullet R2 to be delivered, I am doing research for building a setup like you did.
Would it be possible to share the list of materials/components/items needed, as well as the print files? As far as I know the R2 is similar to the R1? Or are there main differences so your build would not work for the R2?
I tried to gather all the information from reading all the posts here, but missing some crucial parts, and perhaps you upgraded some components after time.
Thank you so much.
Best,
Patrick
2 Likes
i just did this! thank you for doing it first! It’s definitely helped with the chaff sticking to the fan!
Inspired by @billc and my wife not appreciating the chaff blowing out of my garage exhaust vent  I tried a new venting setup.
Previous setup: 4" inline fan right above the Bullet exhaust vent straight up through the roof with a cap.
New setup: a combination of 3" and 4" HVAC connectors and pipes with some other misc stuff I had laying around from my previous DIY Fluidbed build. There is a vacuum motor inside the spa boot controlled by a variable speed controller.
@billc do you have your whole cart connected to just one power supply? If so, how many amps is it wired to? My roaster is on a 20a circuit and when in PH I could definitely hear the vac motor fluctuating. Then mid roast when I turned the blower up to Medium it tripped the surge protector.
Some success in the sense that airflow is great and doesn’t backflow down to the cooling tray and during cooling the air definitely flows upward. Now to the failures 
(1) I had to emergency tape a piece of ductwork over the Bullet exhaust because the draw wasn’t strong enough to pull in all the smoke and chaff
(2) Even at full blast the vac motor couldn’t create enough suction to manage the smoke at the time of dumping the roast and cooling cycle initiated. I’m guessing this is because of all the various sized pipes and connectors. (I know it has plenty of power because it was used in my DIY fluidbed to successfully loft 1lb of greens)
(3) Power. I ran an extension cord from a separate 20a circuit and was able to run the vac motor without issue to the roaster.
The beans I used for the test roast were a super chaffy Bali natural and there was definitely chaff collected inside the bucket so I know it’s possible. I feel close but definitely need to make some improvements.
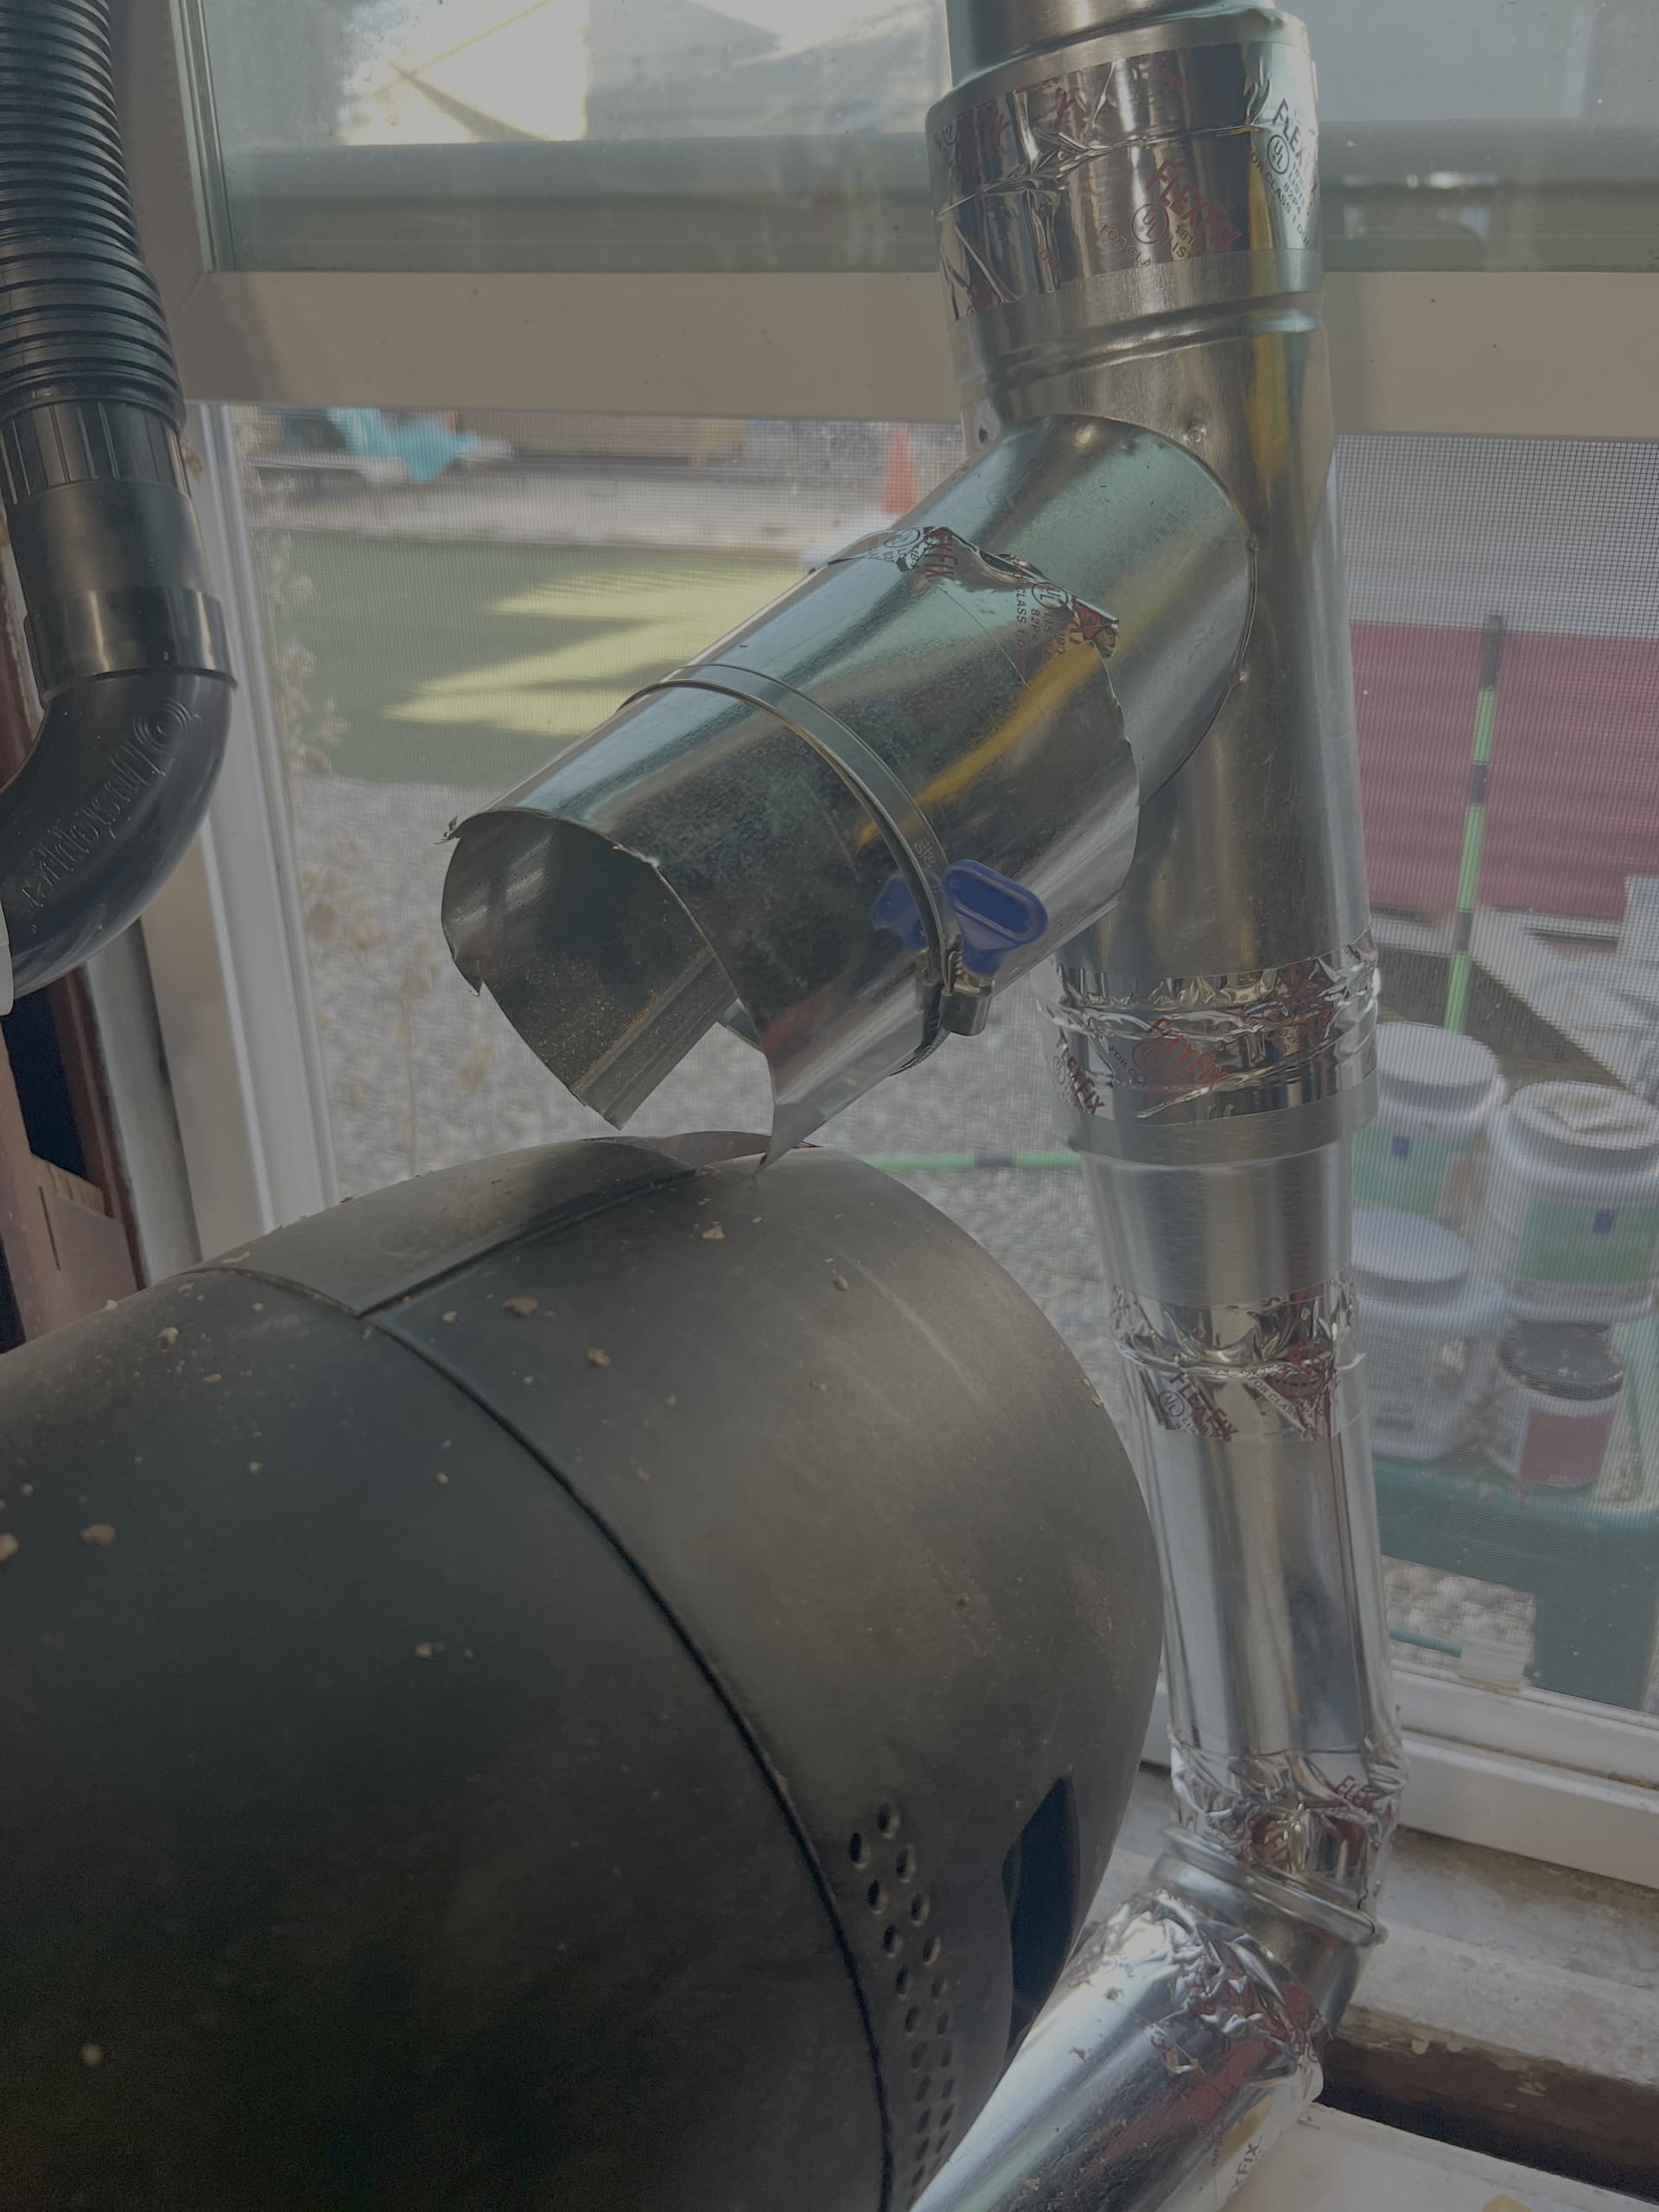
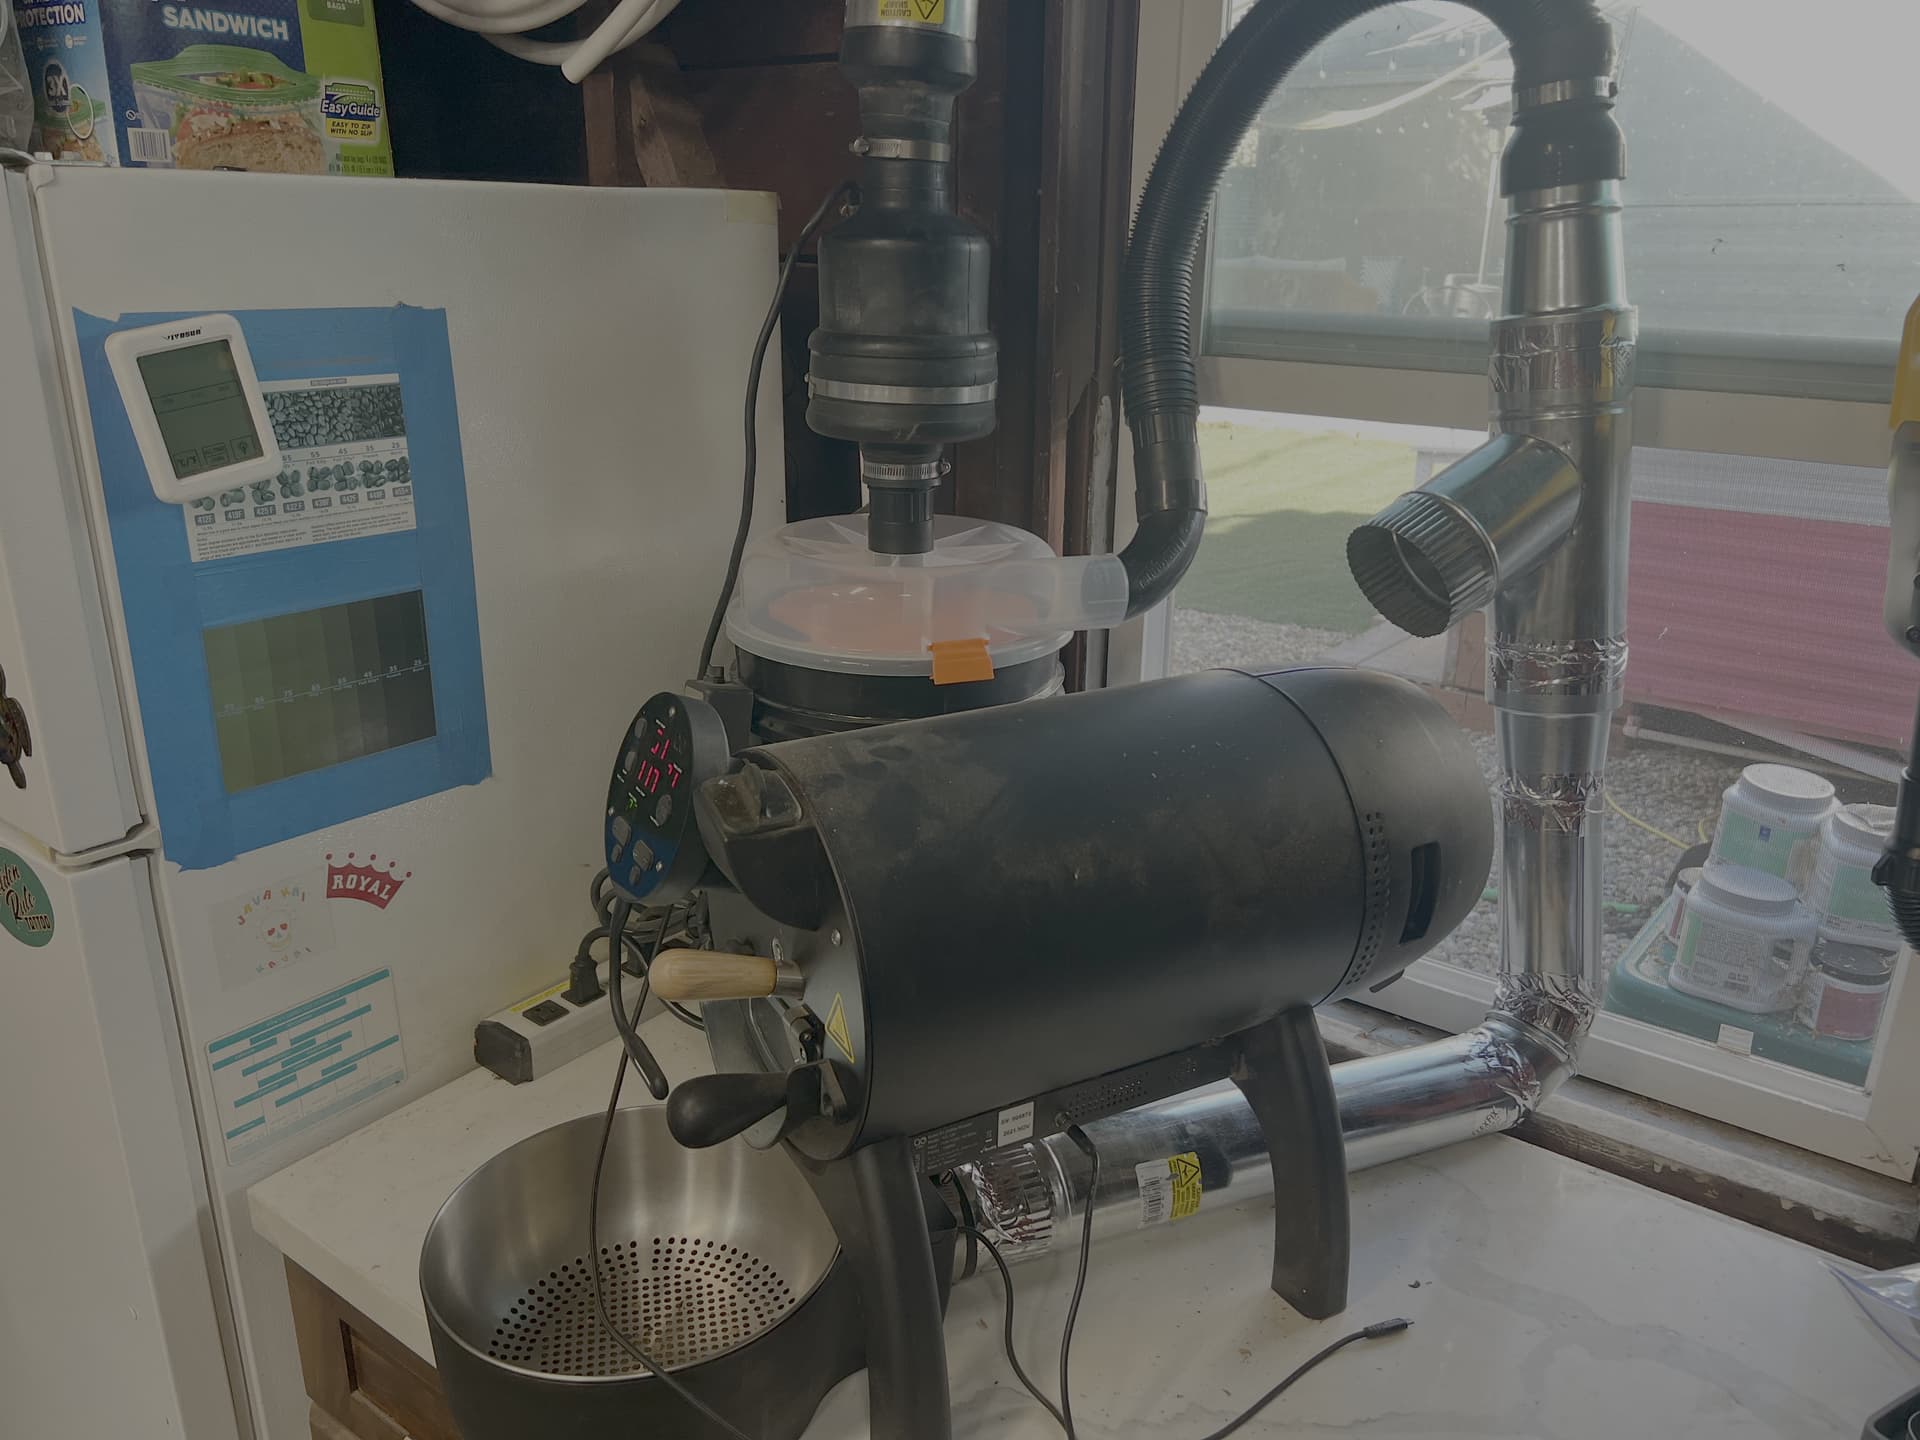
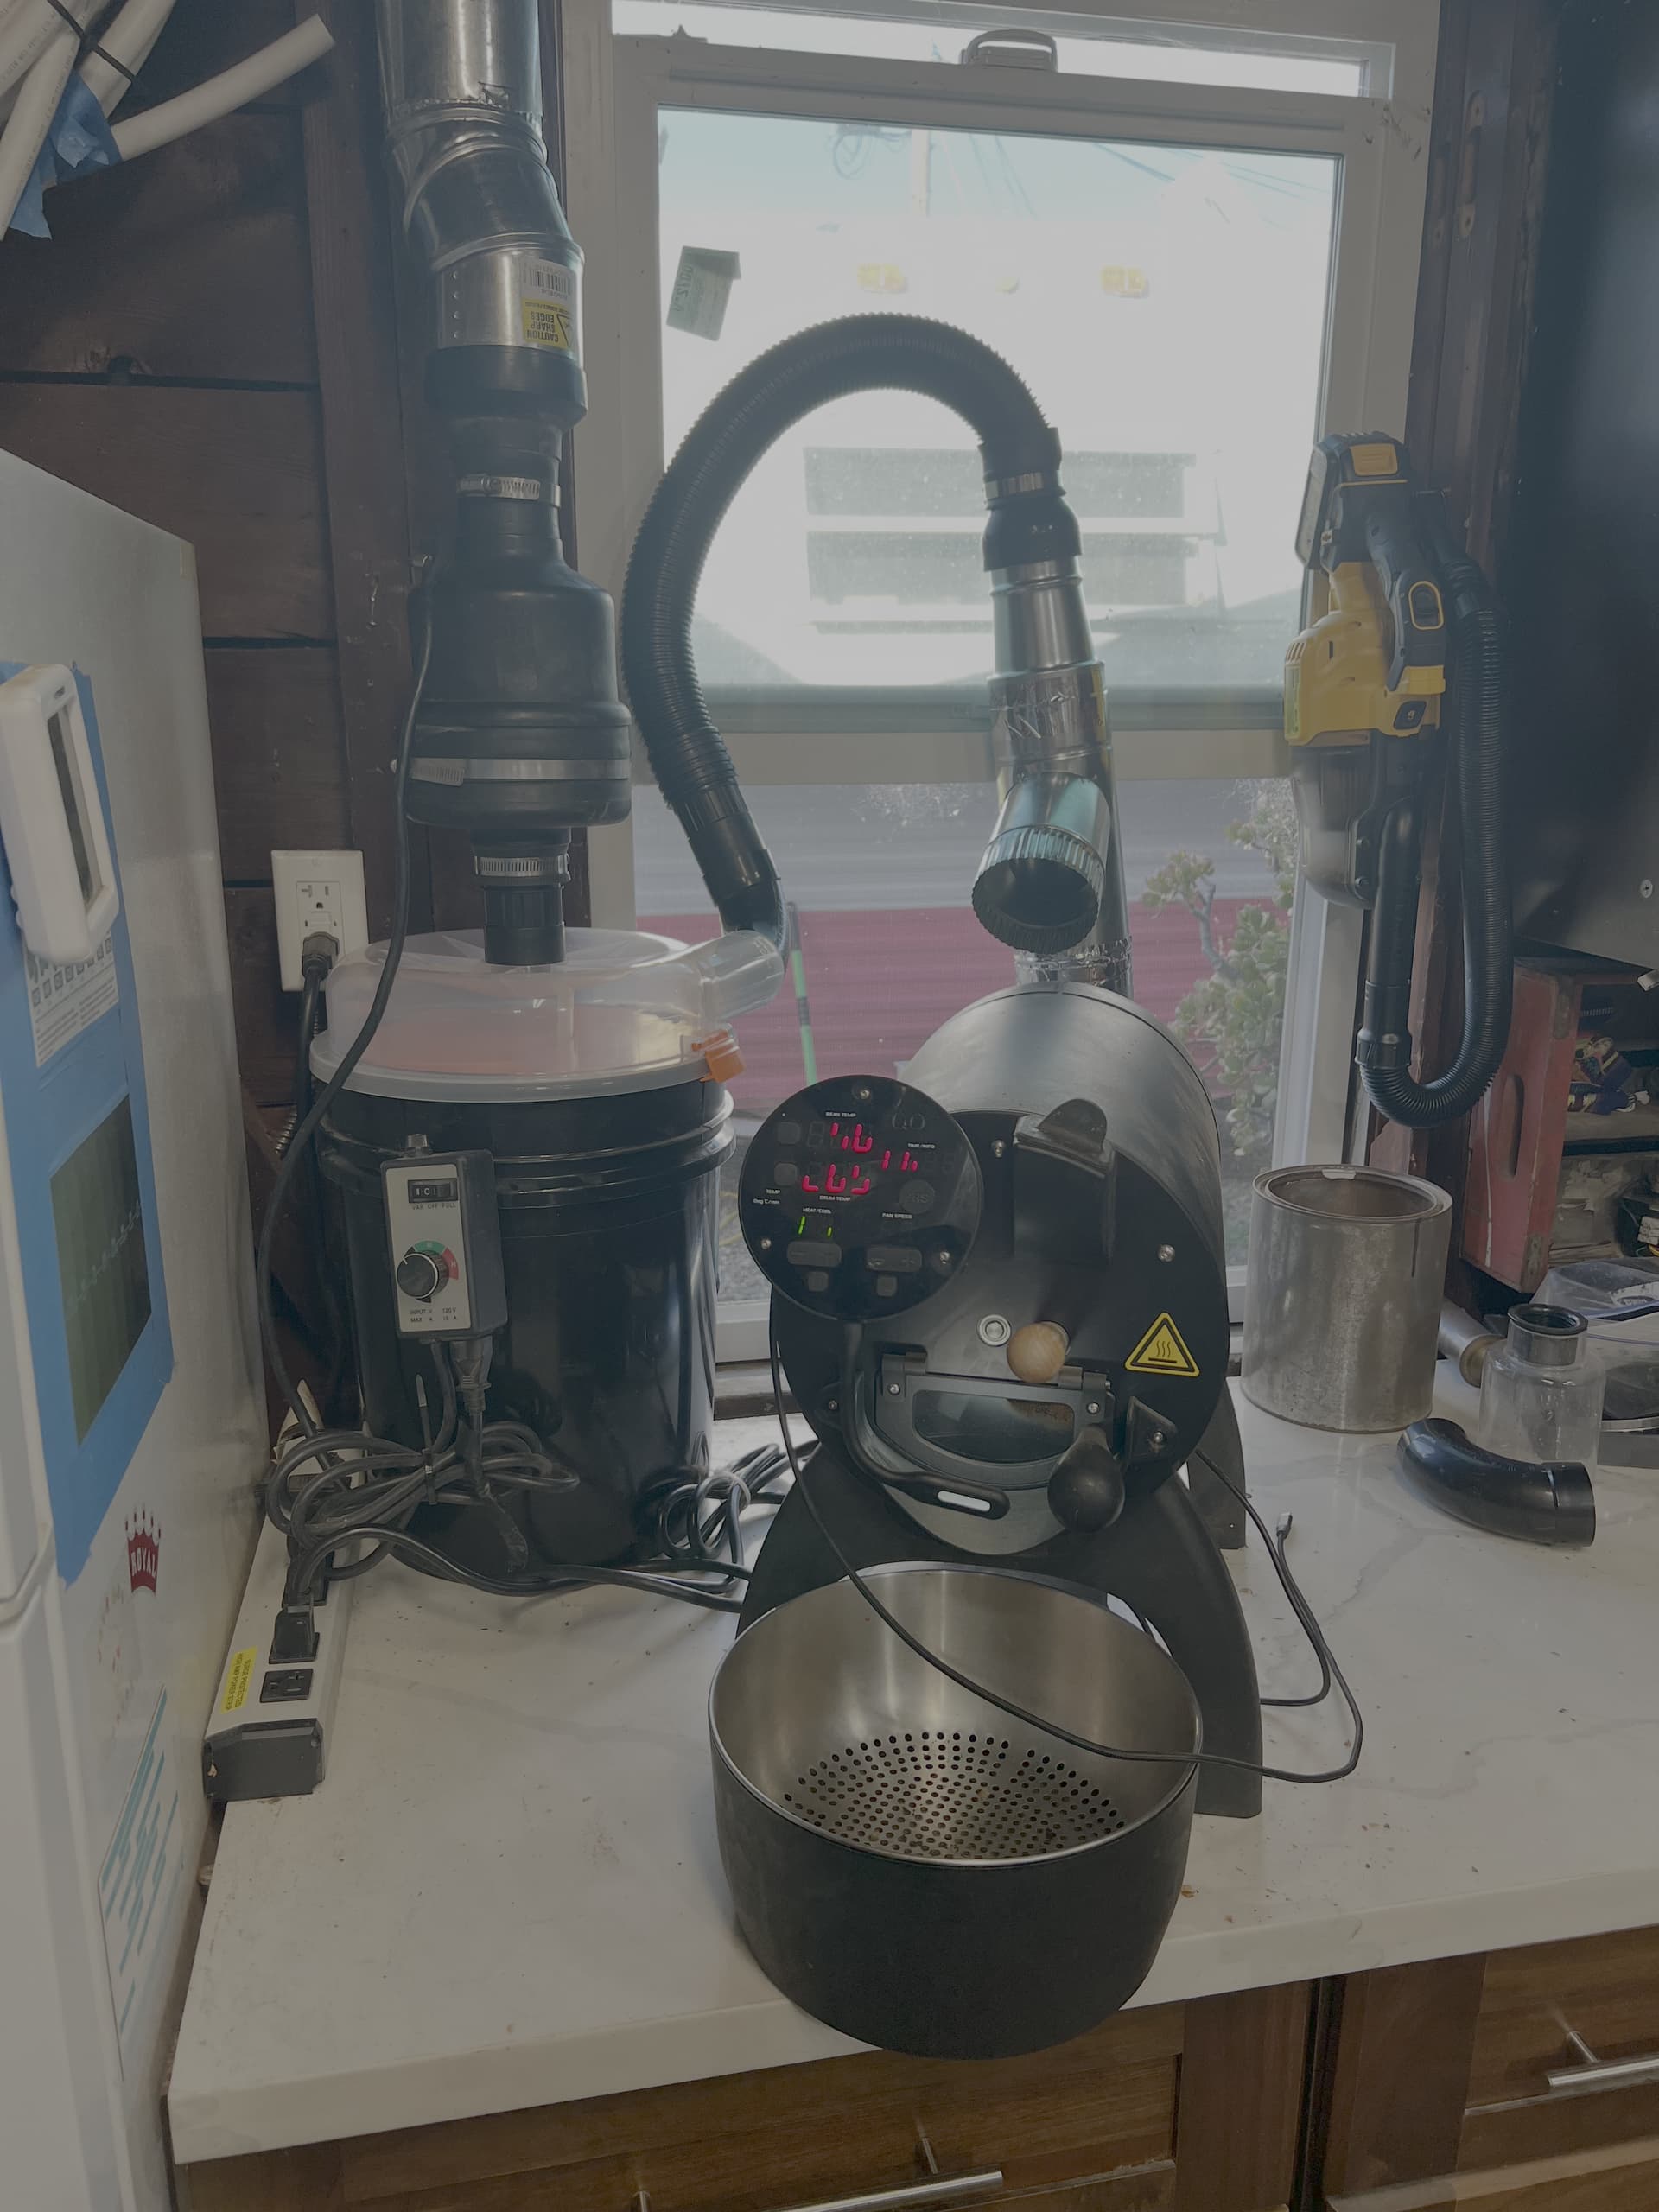
It is hard to believe that it has been over 2 years since I first posted this setup.
After re-reading it, I realized that there might be a chance for a little confusion. The nut-milk 300 mesh sack and adapter is not part of my current setup. It was something that I did as an early way of dealing with trying to control the chaff and help the beans cool faster.
In answer to some of your questions @thewildcup:
I am running off of one 20 amp circuit breaker. I installed a retractable 12 gage extension reel and shortened up the extension cord to only 15 feet. I reversed the male and female end s of the extension cord so that the male end plugs into the wall outlet. This unit is rated for 15 amps because of the 12/3 gage wire. The fact that I shortened the extension cord to 15 feet increases the ampacity of the cord by reducing voltage drop by removing an extra 30 feet that I don’t need.
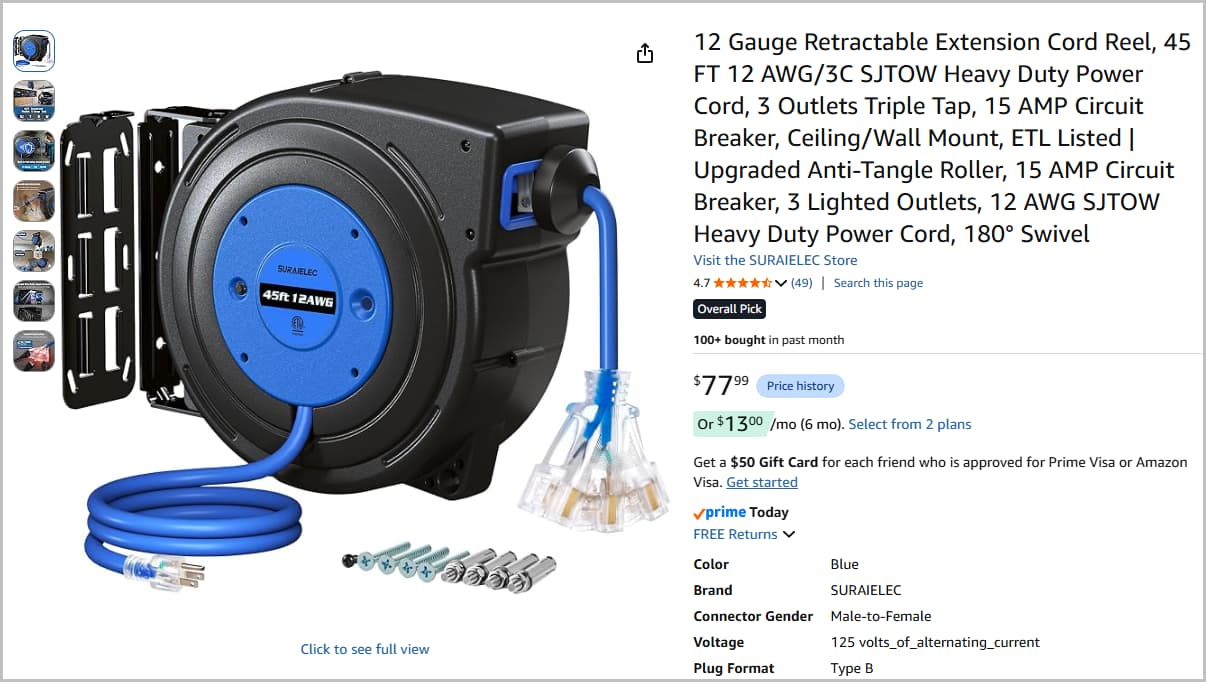
The photo shows the extension cord the way that the device is sold, not the way that I modified it. I wanted the cord to be retractable so that I wouldn’t have to deal with a length of the extension cord laying on the floor when the cart is not in use. The reality of my location is that I really don’t need the retractable extension cord as I never move the cart anywhere else…
I don’t get any fluctuation in sound of the vacuum when roasting. (the vacuum is not drawing too much amperage)
I don’t change the speed of the vacuum when roasting anymore. I found that reducing the speed was unnecessary and the added noise from running the vacuum at full speed was very annoying. It might save a couple of minutes for cooling the beans in the lower tray, but I am satisfied that the beans are cooling fast enough.
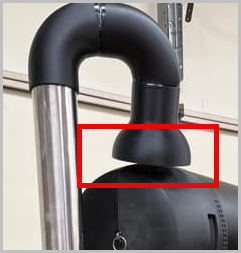
One of the things that I did was to use a half bowl shape for catching the smoke, fumes and chaff from the exhaust of the Bullet. The half bowl is very close to the bullet housing. If there is too much of a gap, I get smoke and fumes and chaff on the floor.
I put an air quality meter on the top of the bench after following the thread by @ibnabouna about bad air quality during roasting. The only time I get alarms from it is when I am doing silversmithing work and the flux is smoking. (not coffee roasting)
When I am roasting, I don’t get any smoke in the garage. If I go outside, I can see smoke from the where the exhaust hose dumps to the outside. The exhaust hose that goes to the outside, passes through a wall with good tight slip fittings
The Bali Kintamani Natural beans from Royal is one of my favorite beans.
Yeah I knew that the nut milk sack and adapter left your setup when you integrated this new shopvac and cyclone bucket collector – I just didn’t feel like starting a brand new thread when I knew this one existed lol.
Thanks for the info on your power situation. After thinking about it my guess is that the vacuum motor I’m using is drawing too many amps even at low speed. I will look into a different blower that can handle more volume rather than power as was its previous life throwing grean beans into the air.
I actually really liked my Vivosun 4" Inline fan setup before until I needed to capture all the chaff instead of blowing it out into our backyard. Additionally, I began to run into issues where it would stop working after a few back to back roasts and I would have to wait until later that day/next day to resume roasting again. It was really weird.
Looks like I will also be modifying the catch mechanism above the Bullet exhaust port to something closer to yours. Thanks for the reply!
The shop vac that I am using is a 4 gallon, 5 Hp Rigid (brand) Vac that I got from Home Despot. Model # WD4070. The Specs say that it draws 9 amps. I haven’t checked. It has never tripped the breaker.
My breaker panel is only 4 feet from the receptacle that I am using to power the Bullet. So again: very little voltage drop from the breaker to the receptacle. When I get a little time, I will put a meter on it to capture actual current draw. with everything running. (Bullet and Vacuum at max settings)
1 Like
I have the same one! So I revisited the setup and reinstalled the Vivosun blower into the mix as seen in the photo. I’m going to test it today sometime once I get a new cooling tray adapter printed on my 3D printer because the last one was too brittle and sheared off.
I’m hoping that by keeping the ducting to 3-4" until it hits the chaff collecting bucket will improve my ability to capture chaff and smoke from the Bullet but I guess we’ll see what happens during testing