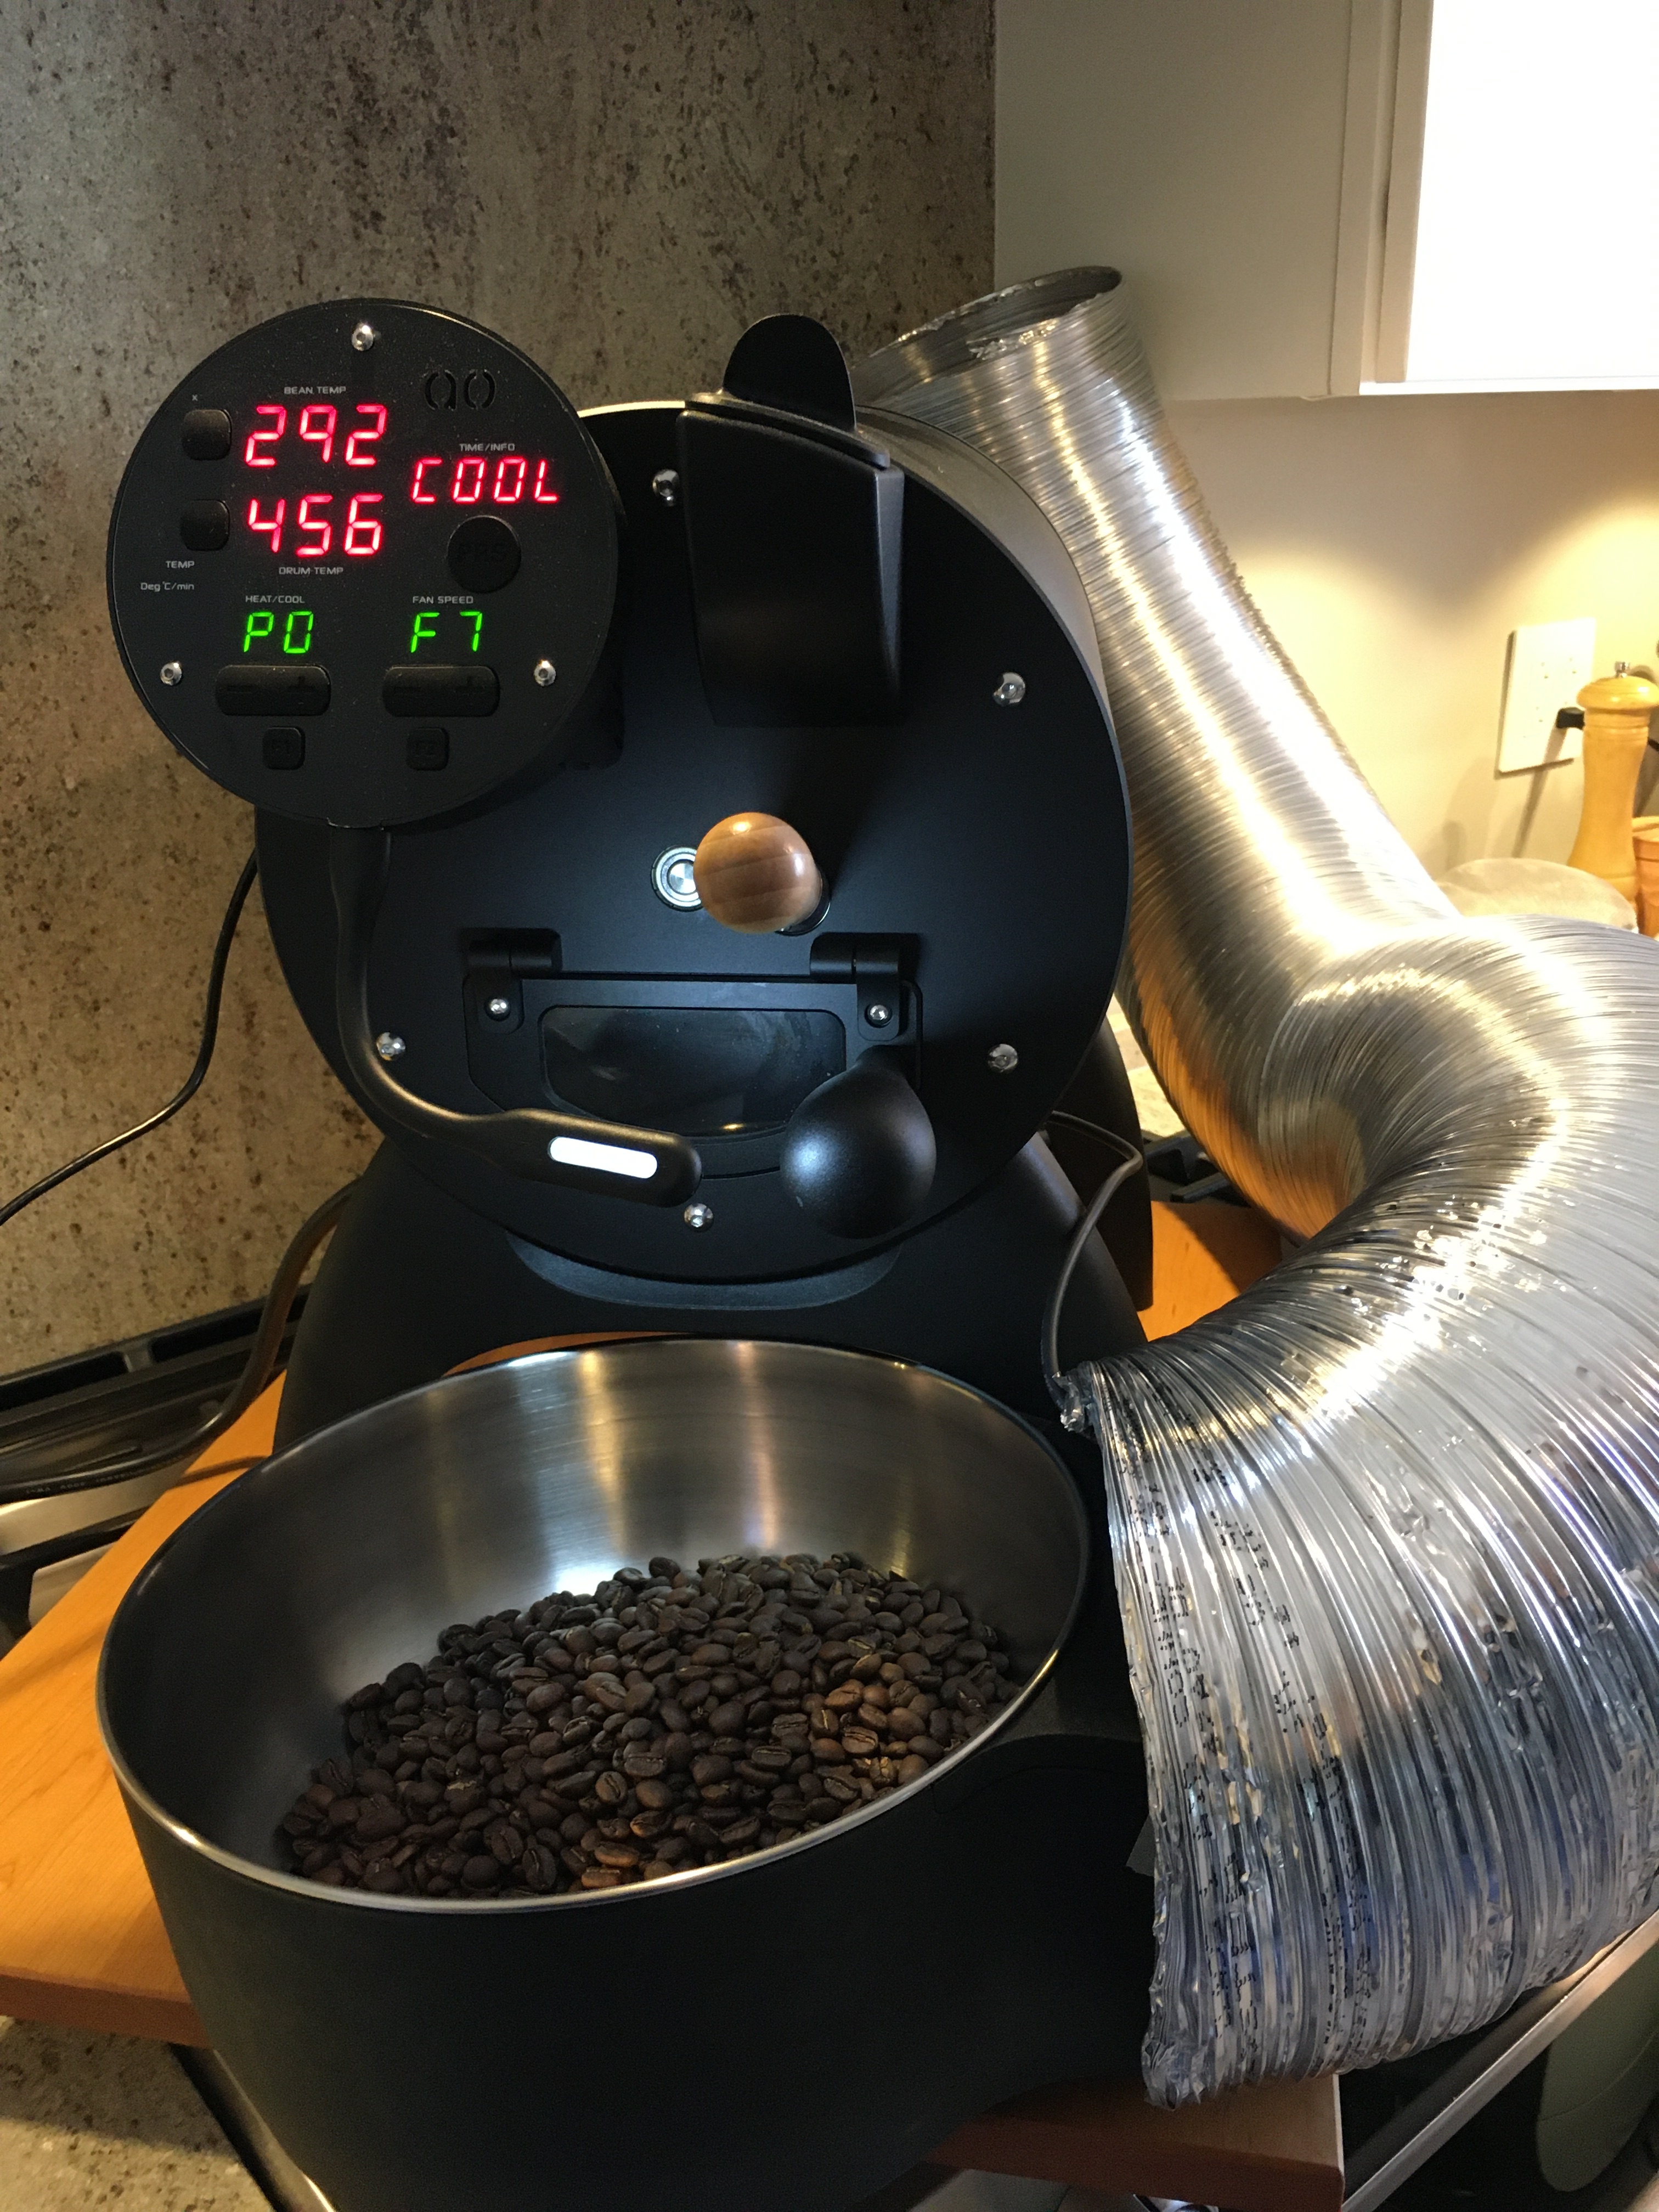
@blacklabs At over 460°F, yeah that was really dark but exactly what you needed for seasoning. Should have been pretty much done with 2C. Beans were really oily, right? That was a good seasoning roast as was the 2nd. I roast pretty dark and can hear 2C quietly starting above about 442-ish °F with the washed Chiapas beans I’ve been into lately. By the time I dump the roast it’s about 40-60 sec into 2C. It’s really hard to hear 2C so I tip the bean chute cover and angle it to reflect sound toward my ear- be careful! The bean chute gets really hot!
At the Yellow point you have about 56F° separation between BT and IBTS. Keep track of that number as (if you have the same batch size every time) it will tell you when the IBTS needs cleaning- when the difference in those 2 numbers shrinks by say 4F°. I treat that as the indicator that it’s time to get out the tool kit and cleaning supplies for the inside of the face plate, door glass; plus Q-Tips & alcohol for cleaning the IR sensor of the IBTS.
Another thing to note- if you charge with a larger batch size, the difference between IBTS & BT will shrink. I treat IBTS as sacred and presume it’s the BT probe that reads higher as batch size increases (that’s a guess but I think I’m right; at 1 kg they’re close to the same value). It just seems like a good idea to stick with the same batch size for awhile so you can get comfortable with Bullet response to preheat temp, power, fan and drum speed settings. If you do change to a larger batch later you’ll have more confidence how the roaster will respond to the controls.
I think that was an errant mouse click. Trying to figure out the software interface and the panel all at the same time! Not trivial initially There’s some questions I’ll post in a new thread.
I arbitrarily decided the YP was at 343°F because any estimate based on color is too subjective. So I picked out that temperature difference at what you clicked cuz it was close to my personal “standard” YP value.
So independent of how you might want to mark YP (since it figures in the calculation for the Development graph), I’m suggesting that you keep track of that temperature difference at some specific IBTS temp of your choice so that you can estimate the time for recurring maintenance.
From what I’ve seen in my roast data, YP is pretty close to the maximum separation of BT vs. IBTS. I think it’s likely related to moisture loss since this is in the middle of the drying phase.
Neat option - Its not visible, but I guess you use the two adapter parts that offer an air gap, right? What kind of filament were you using. I’d like to prevent using ABS as it is far from being usable indoors without a certain effort in venting and temperature control. PETG will very likely not withstand the exhaust temperatures.
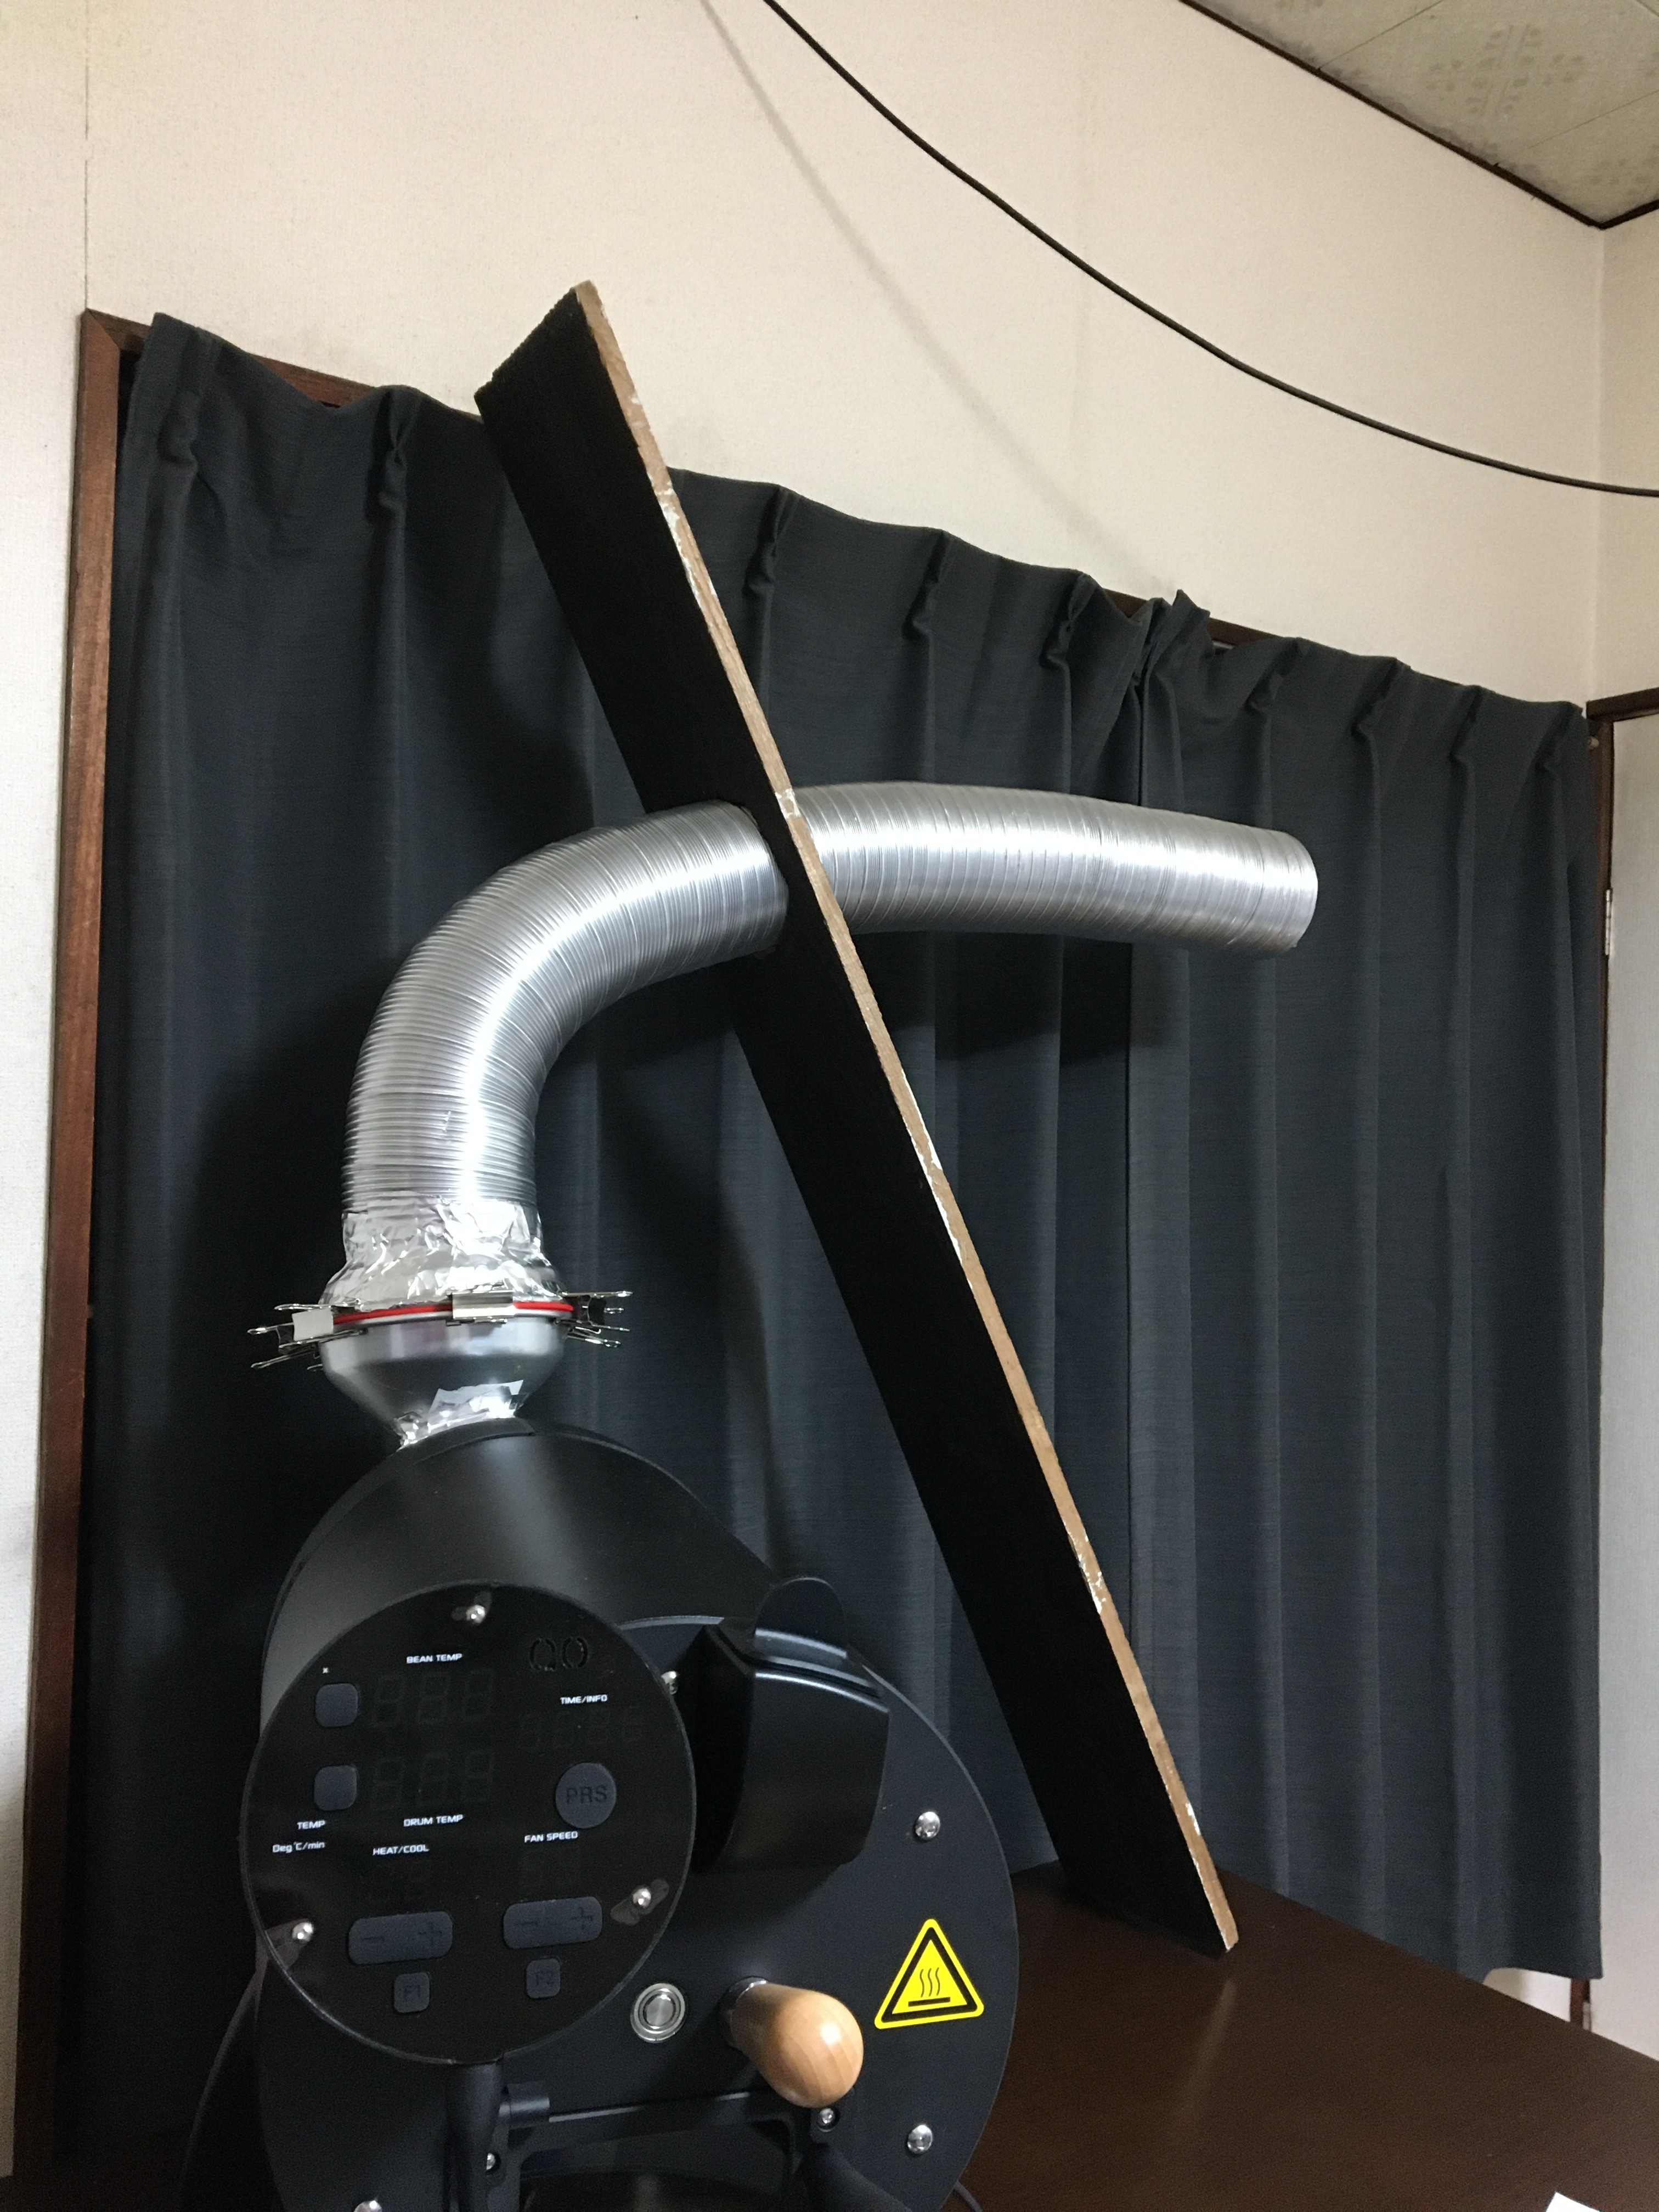
An update to my original setup (see post 32). Added a 7 inch semi rigid duct to the cooling tray fan. Note that because it is a 7 inch I had to turn the cooling fan 90 degrees as under the roaster there isn’t enough clearance. The duct completely covers the fan. I did this to better direct the exhaust from the cooling closer to my vent hood. Much less residual roasting smell in the house during yesterday’s session.
The semi rigid duct worked for me as I had to perch it on the corner of my stove. A flexible duct would have likely flopped over.
Hi starinthecupchd3,
Are you using both adaptor parts? Is there an air gap when using these? Is there a fan in the line or is it direct vent? I am just getting my Bullet and I am looking for the right exhaust setup and I don’t have range hood. I ordered the piece that plugs in to the machine but it looks like I should order the other piece too.
Thanks.
I am on the second floor and have no ventilation system(kitchen is downstairs and off limits)
so I built a makeshift “range hood” from some parts lying around and a flexible hose duct
that I purchased for cheap at local home improvement store.
Cracked the window open and put in the hose, filled openings with cardboard and
went nuts with aluminum tape. The “hood” is made from a heat resistant plastic box,
2 large computer fans and, yet again, aluminum tape.
Estimated total cost: 15-20$
Next step will be to get some Scotch-Brite mesh for filtration(to protect the fans) once i find something that fits the bill.
Should probably have placed the duct facing up and not down tough
I understand about that!! Should be fine unless you roast dark. But if you see smoke collecting around the box and not exiting you can get a big in-line fan to more the smoke. So you have options.
@jpn.demiro6uw I would add to what Bruce said that if you roast dark the cooling fan also it’s own “exhaust”. From your picture it looks like that cooling fan “exhaust” will just hit the closed window and deflect back. As your “hood” is passive you may have a bit of residual “exhaust” hanging around from the cooling fan and might trigger your smoke detector. I had that problem of the “exhaust” hitting the backsplash thus I added the semi-rigid duct. Good setup you have though for the cost I hope where you are it doesn’t get cold. I couldn’t get away with your setup where I am.
@bab I only roast a few seconds past first crack and by the time I decide to give dark roasts a try I will probably have a “proper” setup. Japan doesn’t offer much in the way of DIY ventilation so my “proper” setup will have to come from US Amazon. Cool black flexible ducts and Cloudline S4 seems to be the go-to
@blacklabs my “hood” has two large computer fans inside that have been directed to suck air out through the vent. The fans have 4 speeds and seem to be able to push a decent bit of air(used them in my DIY Roaster/Cooling tray setup before an unfortunate melting accident occurred).
That would make the hood an Active? Not passive? Or have I miss something?
It does not get all that cold around here so that should not mess too much with my roasting.
Yes…that would be “active” since you have the two computer fans pulling the exhaust. Your mentioning that you’re in Japan puts things in context about your setup especially “kitchen being off limits”
My temporary set up is shown in photo; a hood set up over the exhaust area of the Bullet with a retort stand holding it in place, followed by an inline fan (141 CFM) and venting out through the window. The inline fan is sufficient to remove any smoke sucked out of the cooling tray at the end of the roast.
Nicely spotted, it’s more decorative than a reference that I use for roasting. The temps were recorded on a Diedrich IR-12kg. Interesting to note the dramatic colour change that takes place from 300F to 345F
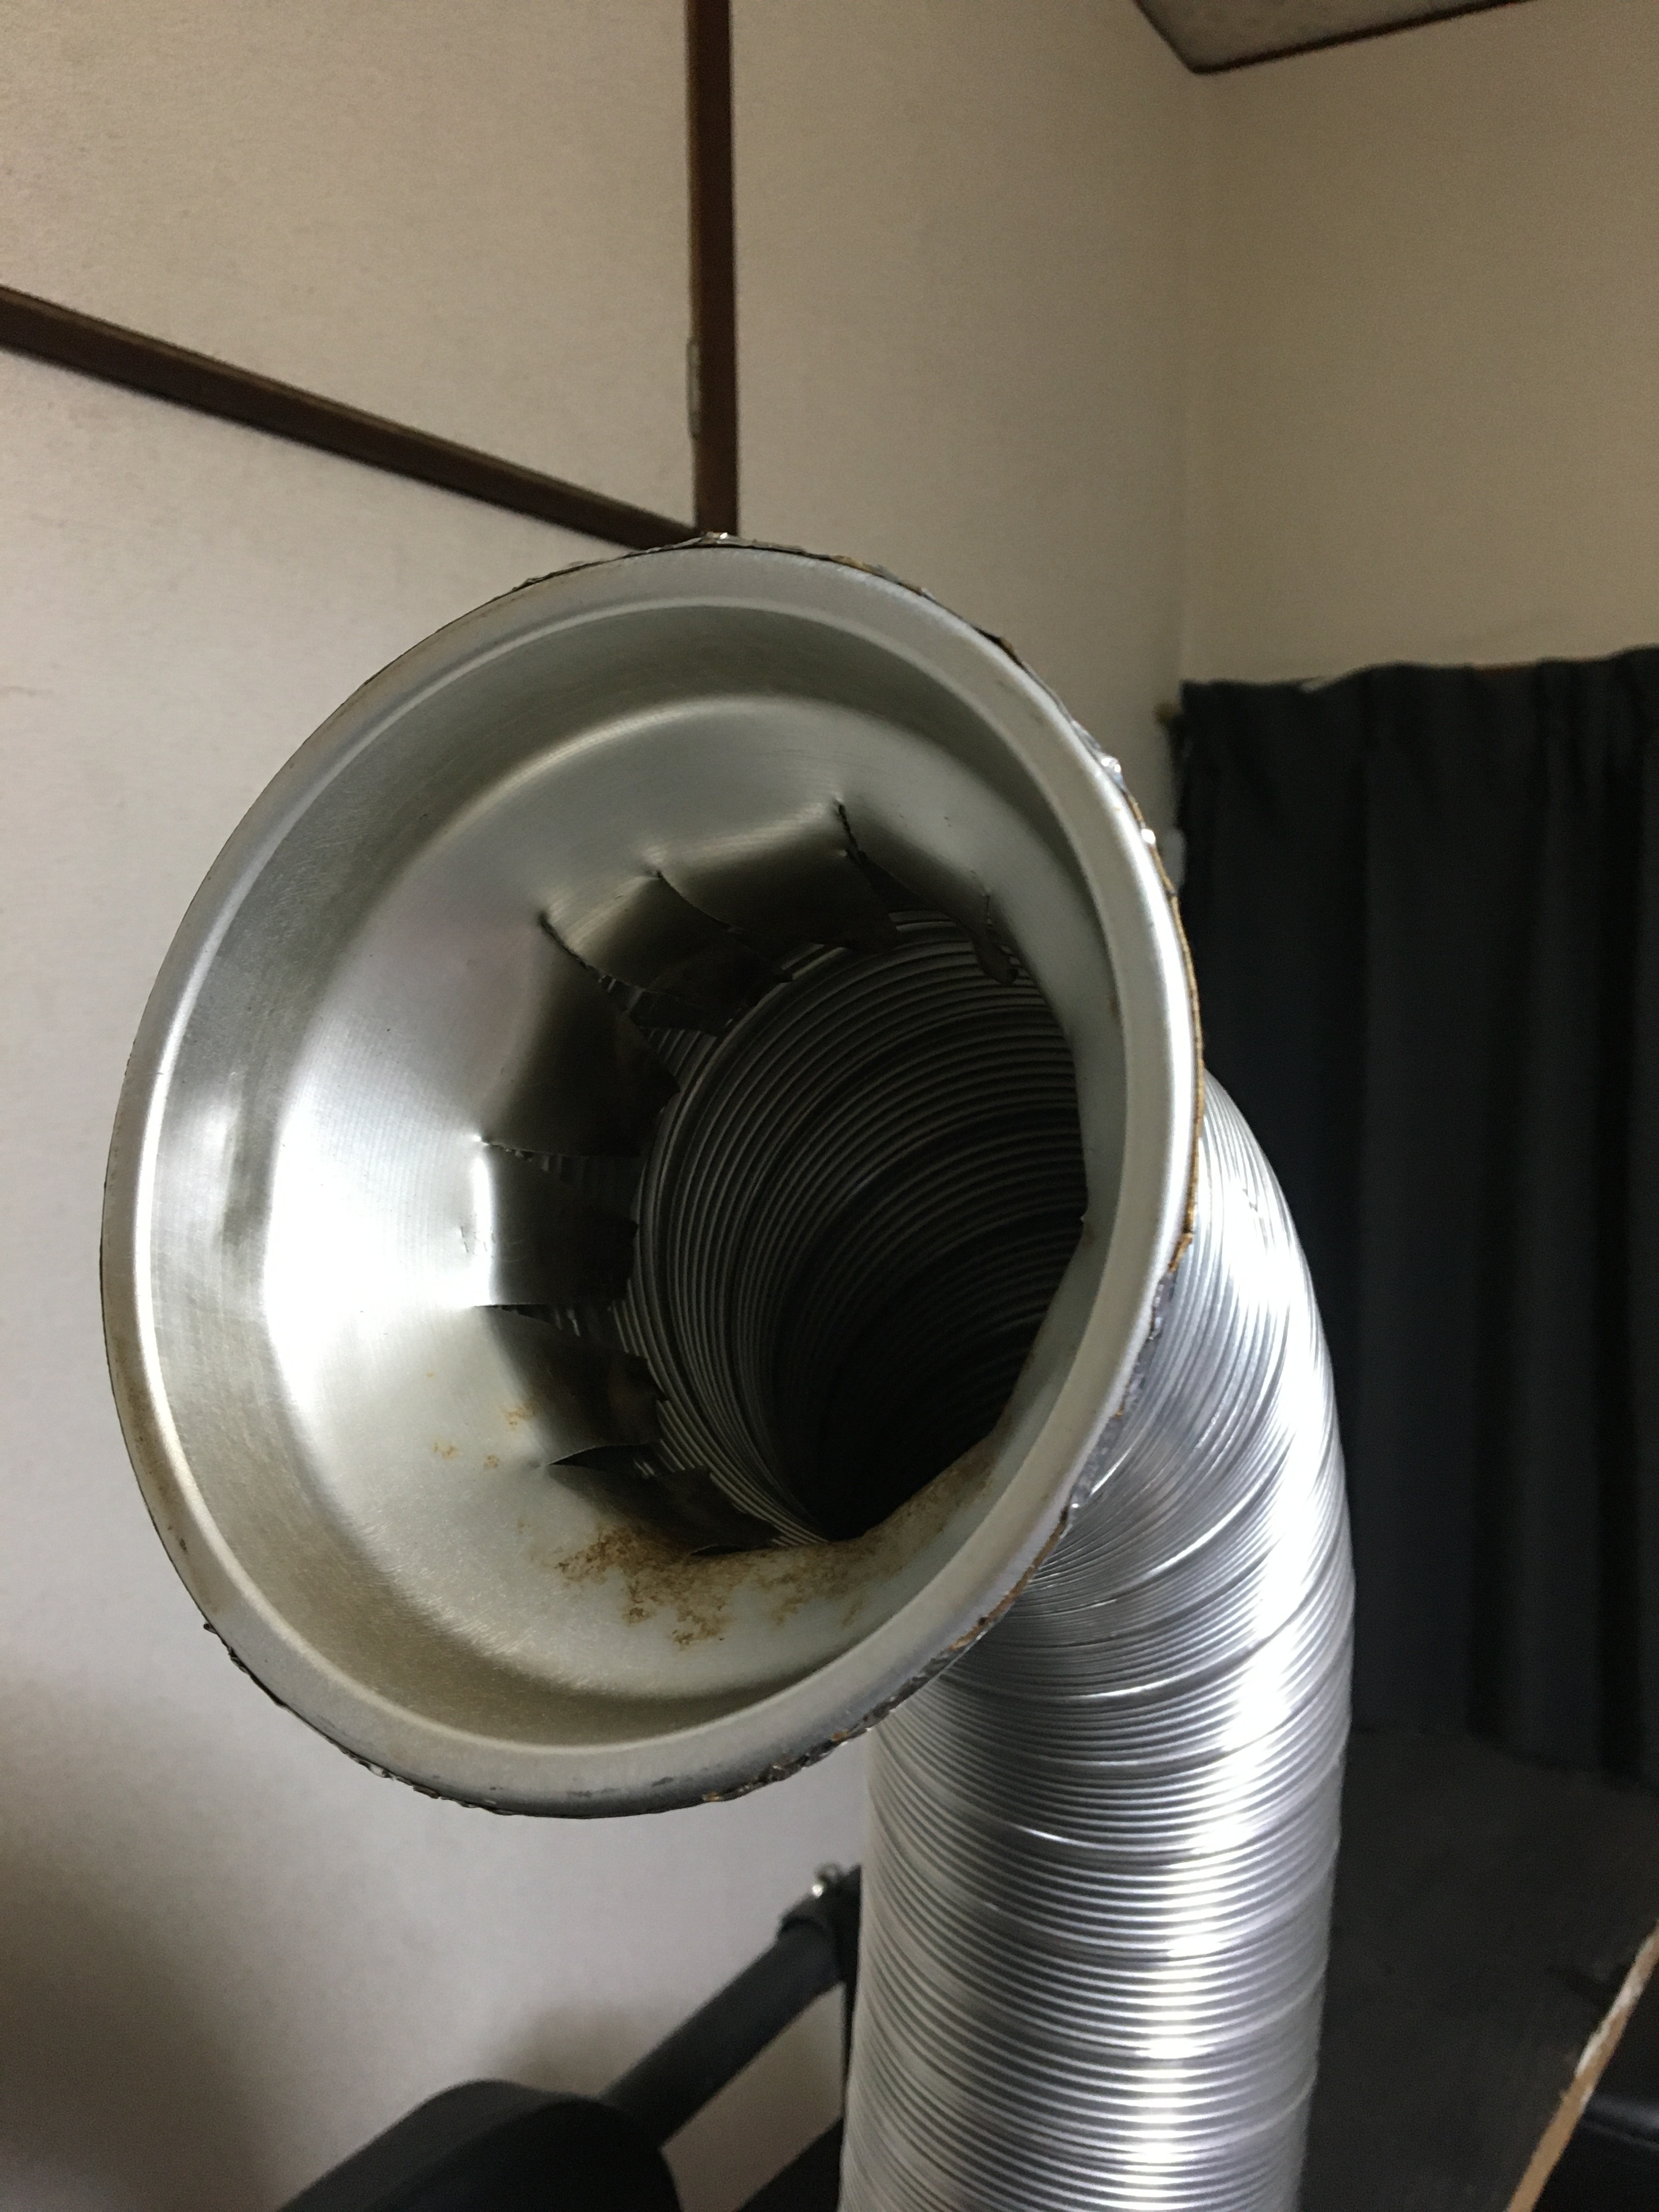
2nd funnel same as 1st, enlarged the hole, placed it in the exhaust and as it was a pretty soft aluminum funnel I was able to press it in to correct shape and tape it in position.
The whole idea came from a discussion about the 3D printed exhaust adapter and its heat resisting capabilities. The aluminum should have no problems dealing with the exhaust temps.
Superb idea @blacklabs ! Didn’t even know those things existed even though I do have a vague memory of seeing them when I purchased the duct. Just goes to show that I really have minimal clue about what I’m doing
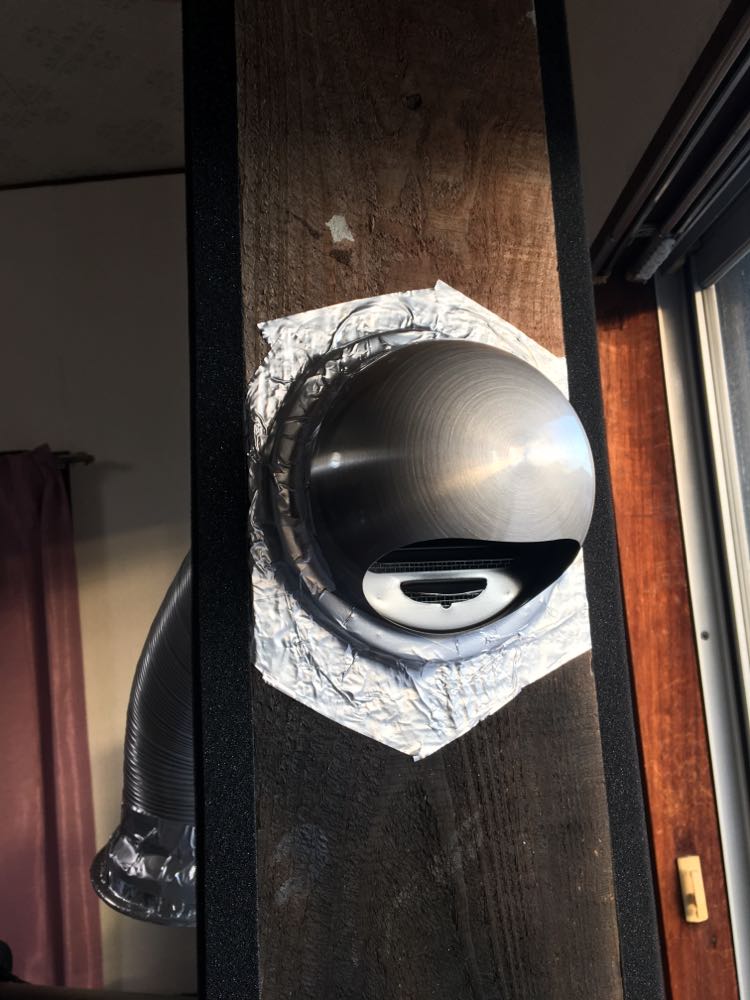
Found a super cheapo one at the local home improvement store and
went all out with the aluminum tape again…
Next step is to make another exit hole much lower in the plank, get another vent cap,
and connect the cooling tray to it via the second half of the duct that’s lying around.